
Hazel Muse shares practical, down-to-earth guidance on nature-inspired journaling and creative writing for readers across the UK.
- 0123456789
- Angle Bd Abdelmoumen & rue soumaya, Résidence
- [email protected]
Hazel Muse shares practical, down-to-earth guidance on nature-inspired journaling and creative writing for readers across the UK.
 By James Pemberton
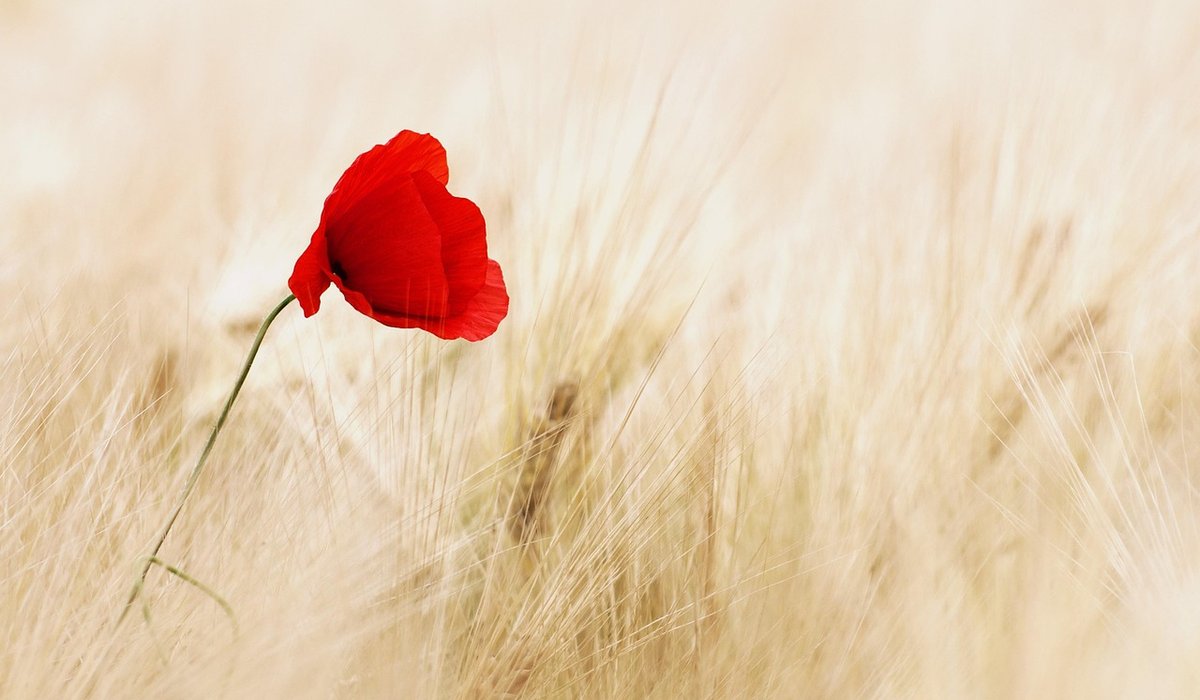
A pressed flower is a very small piece of a particular afternoon. It carries the shape of the light, the lane you walked down, the person you were with, and it does all of that without needing a camera or a charge on your phone. Tucked onto a journal page beside a few handwritten lines, it turns a notebook into something closer to a record of the year's weather.
The good news is that pressing flowers is cheap, slow in the best way, and almost impossible to get catastrophically wrong. You need paper, something heavy, and a bit of patience. What follows is the method I have settled on after many years of brown, mouldy failures and a fair few pages that still look lovely a decade later.
Timing matters more than technique. Choose a dry day — ideally the second dry day in a row — and pick once the dew has lifted, usually from mid-morning onwards. Damp petals will darken and rot no matter how carefully you press them. Take a small basket or an envelope rather than a plastic bag, which traps moisture and turns your harvest to slime within the hour.
Flat, single-layered flowers press beautifully. Thin stems, seed heads and ferns do too.
One word on legality and good manners. In the UK, the Wildlife and Countryside Act 1981 protects wild plants from being uprooted without permission, and it is both antisocial and often illegal to pick in nature reserves and many public parks. Stick to your own garden, a willing friend's, or common species in abundance on land where picking is permitted. Never take a plant you cannot confidently name, and never take the only one you can see.
Purpose-bought blotting paper from an art shop is the ideal absorbent layer, though plain cartridge paper works well and newspaper is a decent outer wrap. Avoid glossy magazines and anything printed with heavy ink, which can transfer onto petals.
Build the sandwich like this:
You can stack several layers this way, alternating card between them so the pressure is even. Then weigh it down: a flower press with wing nuts is lovely, but a stack of heavy books, a couple of bricks or a full toolbox on a board will do exactly the same job. Tighten or add weight after a day or two, once the flowers have flattened and softened.
Most garden flowers are dry in two to four weeks; thicker specimens and seed heads may take six. The crucial step that most people skip is changing the paper. After three or four days, the blotting paper will feel damp — that is the moisture leaving the plant. Swap in fresh dry sheets, then check again weekly.
If you spot a faint white fuzz, mould has set in. Bin that layer, wipe the card, and start again with dry paper. A properly pressed flower feels stiff and dry as a crisp, not leathery or cool to the touch. When it is ready, store specimens flat between sheets of paper in a dry drawer or box. Never in plastic, which sweats.
Work on paper that will not yellow quickly, and think about how the page will close. A thick bloom stuck near the spine will crease every time you shut the journal, so keep pressed flowers towards the outer edge or facing a blank sheet.
A spare pressed flower kept in an envelope means you can practise placement before committing to the page.
The writing does not need to be poetry. The best journal captions are plain and specific: the date, the place, the weather, who you were with, and the name of the plant if you know it. Everything else is a bonus.
If you want a nudge, try one of these:
Do this often enough and you end up with something rare: a journal that smells faintly of summer, that shows the shift from April's violets to September's seed heads, and that keeps a record not just of what you saw but of the fact that you stopped to look.


We are not gonna make spamming
