
Hazel Muse shares practical, down-to-earth guidance on nature-inspired journaling and creative writing for readers across the UK.
- 0123456789
- Angle Bd Abdelmoumen & rue soumaya, Résidence
- [email protected]
Hazel Muse shares practical, down-to-earth guidance on nature-inspired journaling and creative writing for readers across the UK.
 By Harriet Coles
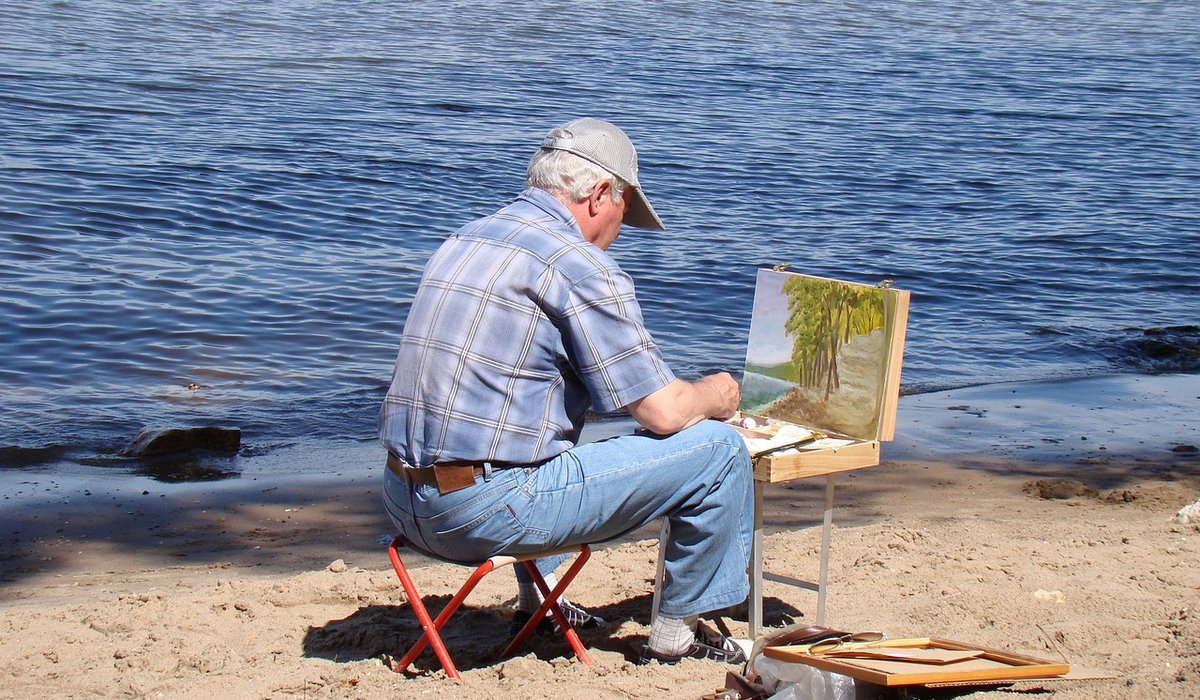
A tree will not fidget, check its phone, or ask to see the drawing halfway through. It holds still for as long as you need, and if the light shifts, it simply offers you a different version of itself. That patience makes trees one of the kindest subjects for anyone learning to sketch outdoors.
They are also forgiving. A tree has no face to get wrong, no likeness to miss. If your oak looks a little stout or your willow leans the wrong way, nobody will accuse you of drawing a bad portrait. You are free to concentrate on the things that actually build drawing skill: shape, proportion, edge, and the relationship between light and form.
The most useful habit is simple. Begin with the overall silhouette before you touch a single branch or bark texture, then let the detail grow from that shape rather than fighting it.
The temptation is to buy a beautiful set of everything and never leave the house. Resist it. A small kit means fewer decisions and more drawing.
Add a flask in winter and you have a complete studio that fits in a coat pocket.
Stand back and look at the tree as a single dark shape against the sky. Squint. The squinting trick removes the twigs and leaves and leaves you with an outline you can actually measure.
Draw that outline as lightly as you can, using long, slow lines from the shoulder rather than short scratchy ones from the wrist. Then use your pencil as a measuring stick: hold it at arm's length, line the tip up with the top of the tree, slide your thumb down to the base, and compare that height with the width. Most beginners draw trees far too narrow.
Check the proportions in three places: the total height against the total width, where the trunk meets the first major branch, and where the widest part of the canopy sits. Only when those three relationships feel right should you think about anything inside the outline.
Branches are where sketches either come alive or turn into a spider. Work from thick to thin, and from the trunk outwards. Draw the trunk as two lines, not one, so it has width from the start and can taper as it rises.
If a branch does not look right, do not erase it immediately. Draw the corrected version over the top and decide later. You will learn more from a messy, honest sketch than a tidy, timid one.
New sketchers try to draw every ridge of bark and end up with a grey smudge. Bark is best shown by following the form. Marks should curve around the trunk the way the surface does, tightening on the shadowed side and opening out where the light hits.
Take a few minutes to notice what kind of bark you are dealing with. Oak is deep-ridged and blocky, beech is smooth and grey as skin, silver birch peels in horizontal bands, and sycamore flakes in patches. Each asks for a different mark: short broken lines, soft shading, horizontal dashes, or dappled patches.
Above all, let shadow do the work. A trunk is a cylinder, so one side is nearly always darker. Get that tonal shift right and you can leave most of the surface untouched.
One drawing of a tree is a snapshot. Ten drawings of the same tree across a year is an education.
Go back at different times of day and watch how the light moves. In the morning the sun rakes across the trunk and every ridge casts a shadow. By midday the shadows shorten and the canopy flattens into a single tone. In the evening the tree may be almost a silhouette. Sketch the same branch each time and the difference will teach you more about light than any book.
Seasons change the drawing completely. Winter strips the tree to its skeleton and shows you the true architecture of trunk and branch. Spring adds a soft haze of new growth. High summer gives you mass and shadow rather than line. Autumn is brief, brilliant and full of movement.
Note the date, time and weather in the corner of each sketch. After a few months you will have a small record of one place, and your eye will have sharpened without you noticing. Fifteen minutes in the same park, once a week, is enough to change how you draw — and how you look at trees.


We are not gonna make spamming
