
Hazel Muse shares practical, down-to-earth guidance on nature-inspired journaling and creative writing for readers across the UK.
- 0123456789
- Angle Bd Abdelmoumen & rue soumaya, Résidence
- [email protected]
Hazel Muse shares practical, down-to-earth guidance on nature-inspired journaling and creative writing for readers across the UK.
 By Harriet Coles
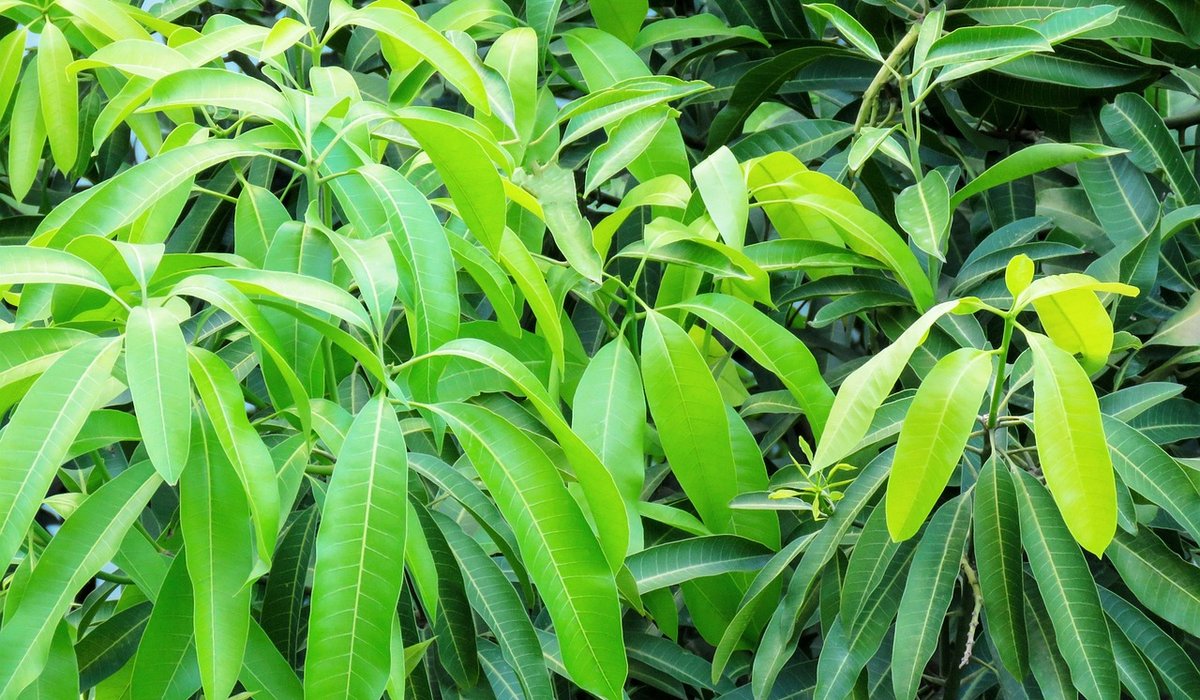
Journaling about nature has a quiet problem: words alone often lose the detail that made a moment worth recording. You can describe a sycamore leaf as "pale green and veined", but the description doesn't capture the way light passed through it at four in the afternoon, or the powdery bloom on its surface. A photograph does that in a fraction of a second, and it does something else too — it gives your written observations a visual anchor, so that a page you return to in a year's time still opens the whole memory, not just a summary of it.
You don't need expensive equipment or a technical background. A phone camera, natural light and a willingness to stand still for ten minutes are enough to build a rich, layered journal. This guide covers how to shoot close-up details well, how to work with the light you've got, and how to get those images off a screen and onto paper where they belong.
Almost every disappointing nature photograph comes from fighting the light rather than using it. Before you decide what to photograph, look at what the light is doing.
If you're indoors and want to photograph a pressed leaf or a feather on the kitchen table, move to a north-facing windowsill. The light there is soft and consistent through most of the day.
Close-up work is where nature journaling photography really earns its place. The trick is to get closer than feels natural and to hold the camera steady.
Leaves. Photograph them on the plant rather than on the ground, and get within ten to fifteen centimetres. Tap the screen to set focus on a single vein or a blemish, and notice what happens to the background — you want it softly blurred so the leaf stands out. Shoot both sides: the underside of a holly leaf is a different world from the top.
Bark. Bark rewards a raking light and a bit of distance. Stand back a metre or so and photograph a patch rather than a whole trunk, so the ridges and fissures fill the frame. Wet bark after rain is far more photogenic than dry bark; the water darkens the colour and deepens the shadows. Look for lichen, splits, insect trails and old scars.
Water. For still water, focus on reflections rather than the surface itself — a reflection of branches in a puddle makes a wonderful image to sketch beside. For moving water, use a fast shutter speed if your camera allows it, or simply take a burst of shots and choose the sharpest. On a phone, tapping and holding on the water will often lock focus long enough to catch a clear droplet mid-fall.
Take more frames than you think you need. Three or four angles of the same subject cost nothing and one of them will be the one you want in the journal.
A photograph that stays on your phone rarely makes it into your journal. Printing changes that. The easiest route is a home printer with plain or slightly textured paper — the texture matters more than the quality. Matte paper takes ink and glue better than glossy, and it looks far more at home next to handwriting.
Do sketch as well, even badly. A rough pencil outline of a leaf beside a photograph teaches you to see shape and proportion, and the two records together are far richer than either alone.
Nature journaling works best as a small, repeatable habit rather than an occasional grand outing. Try this: once a week, spend twenty minutes in one familiar place — a garden, a park, a stretch of canal. Photograph three things: one leaf or flower close up, one texture such as bark or stone, and one piece of water or sky.
Print the images within a few days, while the memory is still sharp, and write four or five sentences alongside each one. Note the date, the weather, the time and anything you noticed that the photograph cannot show. After a season you'll have a record that tracks leaf burst, flowering, colour change and decay — a written and visual diary of a single place, made entirely with light you already had.


We are not gonna make spamming
